
How to create Keap opt-in form in WordPress?

Keap/Infusionsoft is a powerful and popular all-in-one sales and marketing automation platform for small businesses. To create the Keap opt-in form in WordPress, we first need to set up a WordPress plugin for Keap.

 Once you have completed the form setup process, click Save & Exit at the bottom of the Display Settings tab. Your new form is now visible in the Opt-In Forms tab.
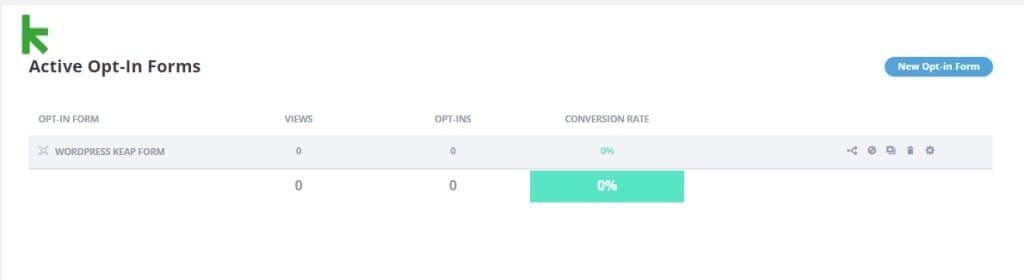 You can edit the created Keap opt-in form from the edit option and also repeat this process to create more opt-in forms for your website if needed. You can also read the Keap tutorial on how to import contacts in Keap
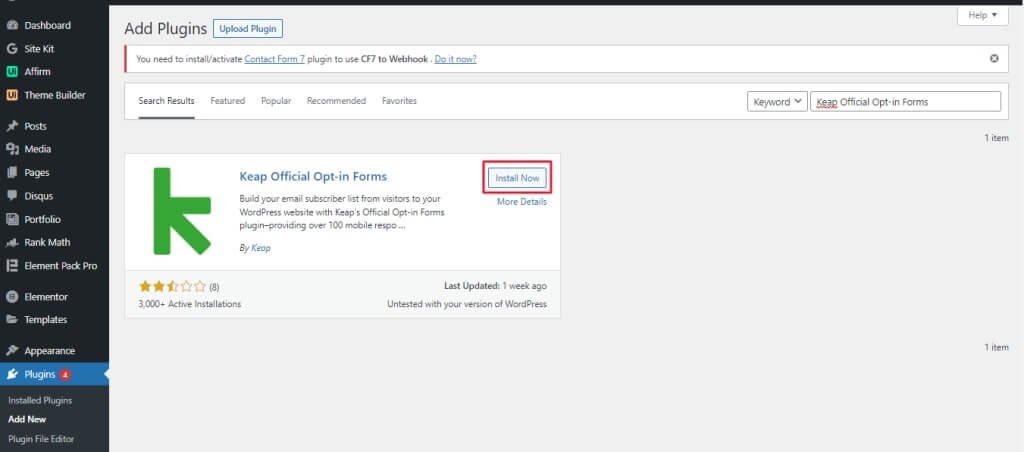
Step 1:
To complete your Keap plugin setup, go to your Keap account and search for “Keap Official Opt-in Forms” in the Add New menu of Plugins.
Step 2:
Once you install and activate the Keap plugin, you can see the Keap plugin in your WordPress navigation. Connect your Wordpress account with your Keap account from settings adding Keap API Key and Application Name. Enter your Legacy API Key and App ID from the API key in Keap. Click Authorized.
Step 3:
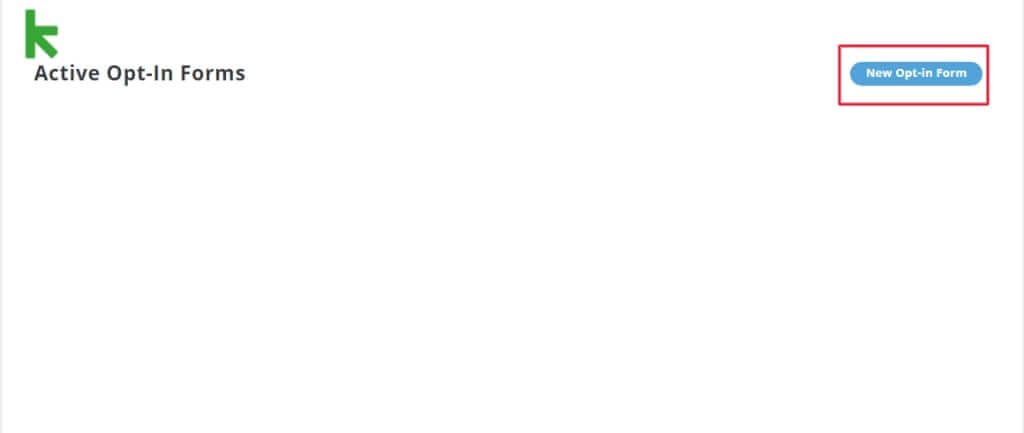
Once you integrate both accounts, click Keap in the menu to expand the sidebar, then click Opt-in Forms. Click the “New Opt-In Form” button at the top right corner of the page to create a new Keap opt-in form in WordPress.
Step 4:
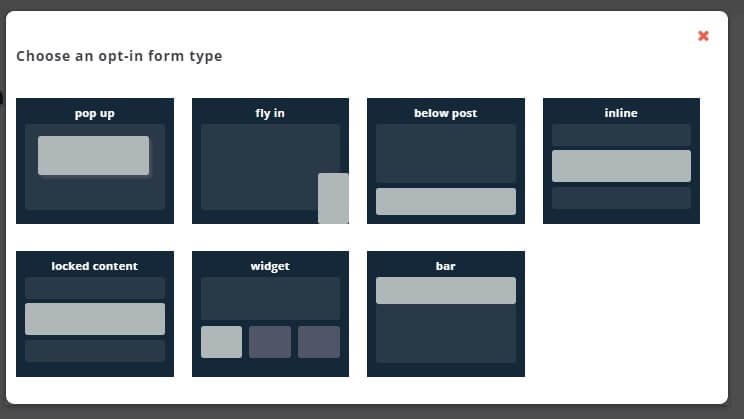
Select your type of opt-in form based on how you want your opt-in form to function on your web page. Descriptions are below.
- Pop-up: This Keap form prompts visitors to opt-in by setting the form to appear after a specific amount of time; this form is visible on the webpage when scrolling to a specific point on your page, after leaving a comment, or when they make a purchase.
- Fly-in: The Fly-in opt-in form can be set to Fly-in at the bottom of the screen either after a specific amount of time or when scrolling to a specific point on your webpage.
- Below post: We can place this kind of opt-in form at the end of the webpage. Visitors who have read an entire post are highly engaged, so this is an effective place to provide the opt-in.
- Inline: In this opt-in form, you can insert it in the middle or virtually anywhere on your web page.
- Locked content: In the locked content opt-in form, you can offer valuable content in exchange for an email address, and it is an effective way to entice an opt-in. Offer content that your visitors can unlock by opting in. Locked content is placed between [inf_infusionsoft_locked optin_id="optin_#"] and [/inf_infusionsoft_locked]
- Widget: It helps you create opt-in forms for your site's sidebar, footer, or other widget-friendly areas.
- Bar: Announce promotions and drive traffic to pages of your choice with an attention-grabbing, top-of-page banner.
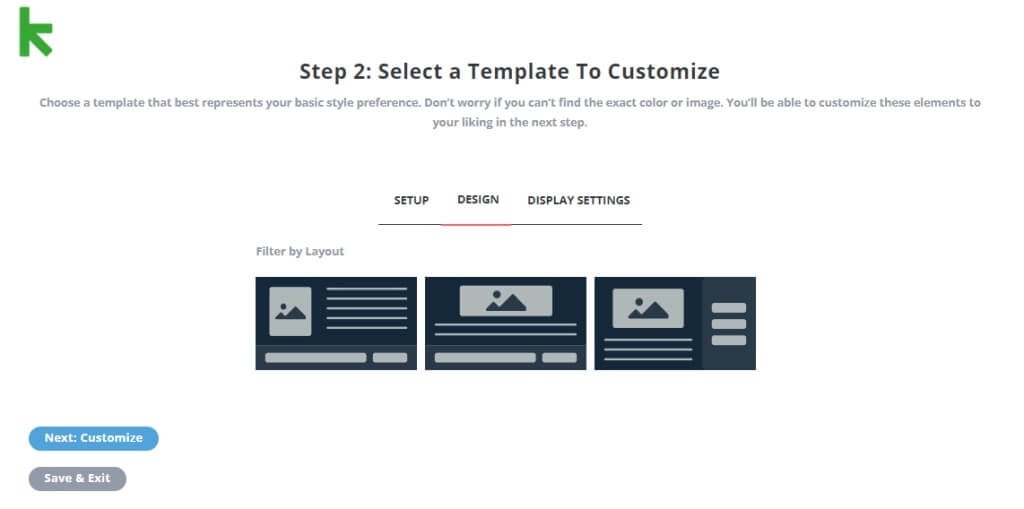
Step 5:
Enter a name for your Keap opt-in form, and click the Next: Design button. You can choose your required form layout and click the Next: Customize button at the bottom.
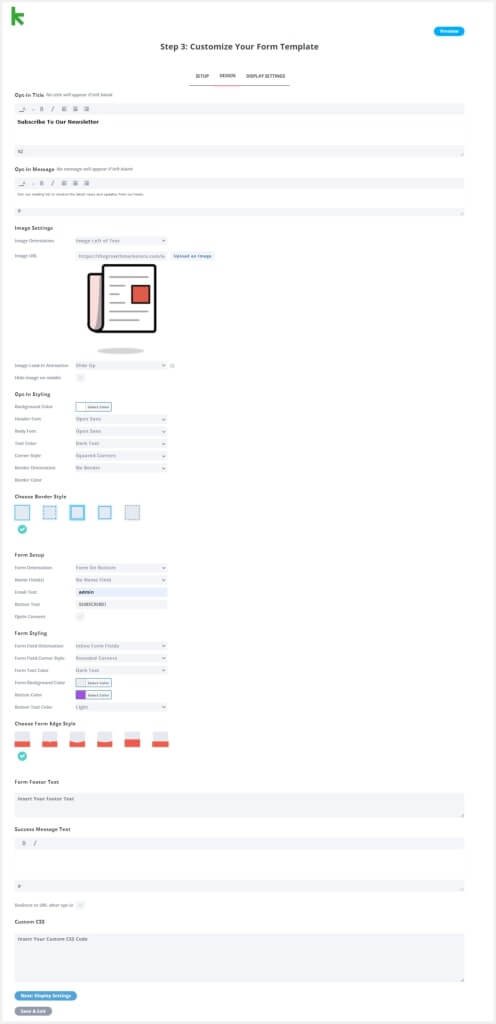
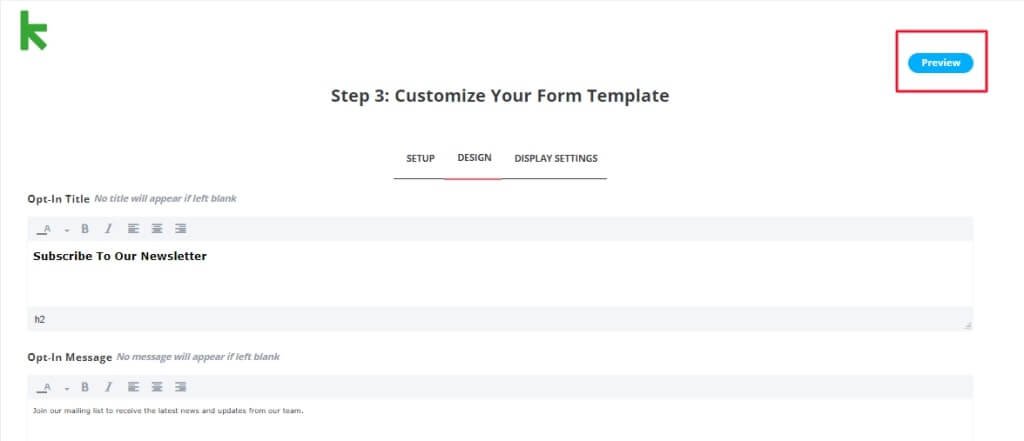
Step 6:
Customize your opt-in form template design by adding a form title, image, opt-in style, form setup, and other required form settings, as shown below. You can add the fields you want to capture with your opt-in form, but an email address is always required. Click the Preview button at the top right of the page to view your design progress. Once confident about your design, click “Next: Display” to customize more elements.
Step 7:
Multiple display settings are available in display settings, and it lets you select where to display your opt-in form. Options include:- Everywhere on site
- The home page
- Archives page
- Certain page or post categories
- With specified shortcode tags
- Specified pages
- Specified posts
Once you have completed the form setup process, click Save & Exit at the bottom of the Display Settings tab. Your new form is now visible in the Opt-In Forms tab.
You can edit the created Keap opt-in form from the edit option and also repeat this process to create more opt-in forms for your website if needed. You can also read the Keap tutorial on how to import contacts in Keap 